Hello again, in Part 1 when last we left our terrain making efforts, I had just glued the former pieces of polystyrene (and been told off because one of the cats managed to snag a small piece without me knowing and was playing with it downstairs in the hallway!).
So this time I will be adding the actual terrain to the pieces and working them up to the beginning of the paint stage.
So this time I will be adding the actual terrain to the pieces and working them up to the beginning of the paint stage.
We'll start by grabbing out the bag of Modelling Compound from Geek Gaming.

This stuff is great to work with, it's a PVA, plaster and paper mix which forms up with three parts compound to one part water, goes on like papier-mâche, and is workable about twenty minutes or so after you lay it down. Reasonably priced for a kilogram bag, it'swell worth it simply for the ease of use (I am not affiliated with Geek Gaming, just like their products).
Anyway, once a good layer was down, I had to smooth it off to provide a nice key for the next stage to glue to the modelling compound once it had dried. In the words of Luke when he's been advertising/using this stuff in his Terrain videos, "Get your fingers wet and get in there!".
This is what I ended up with:

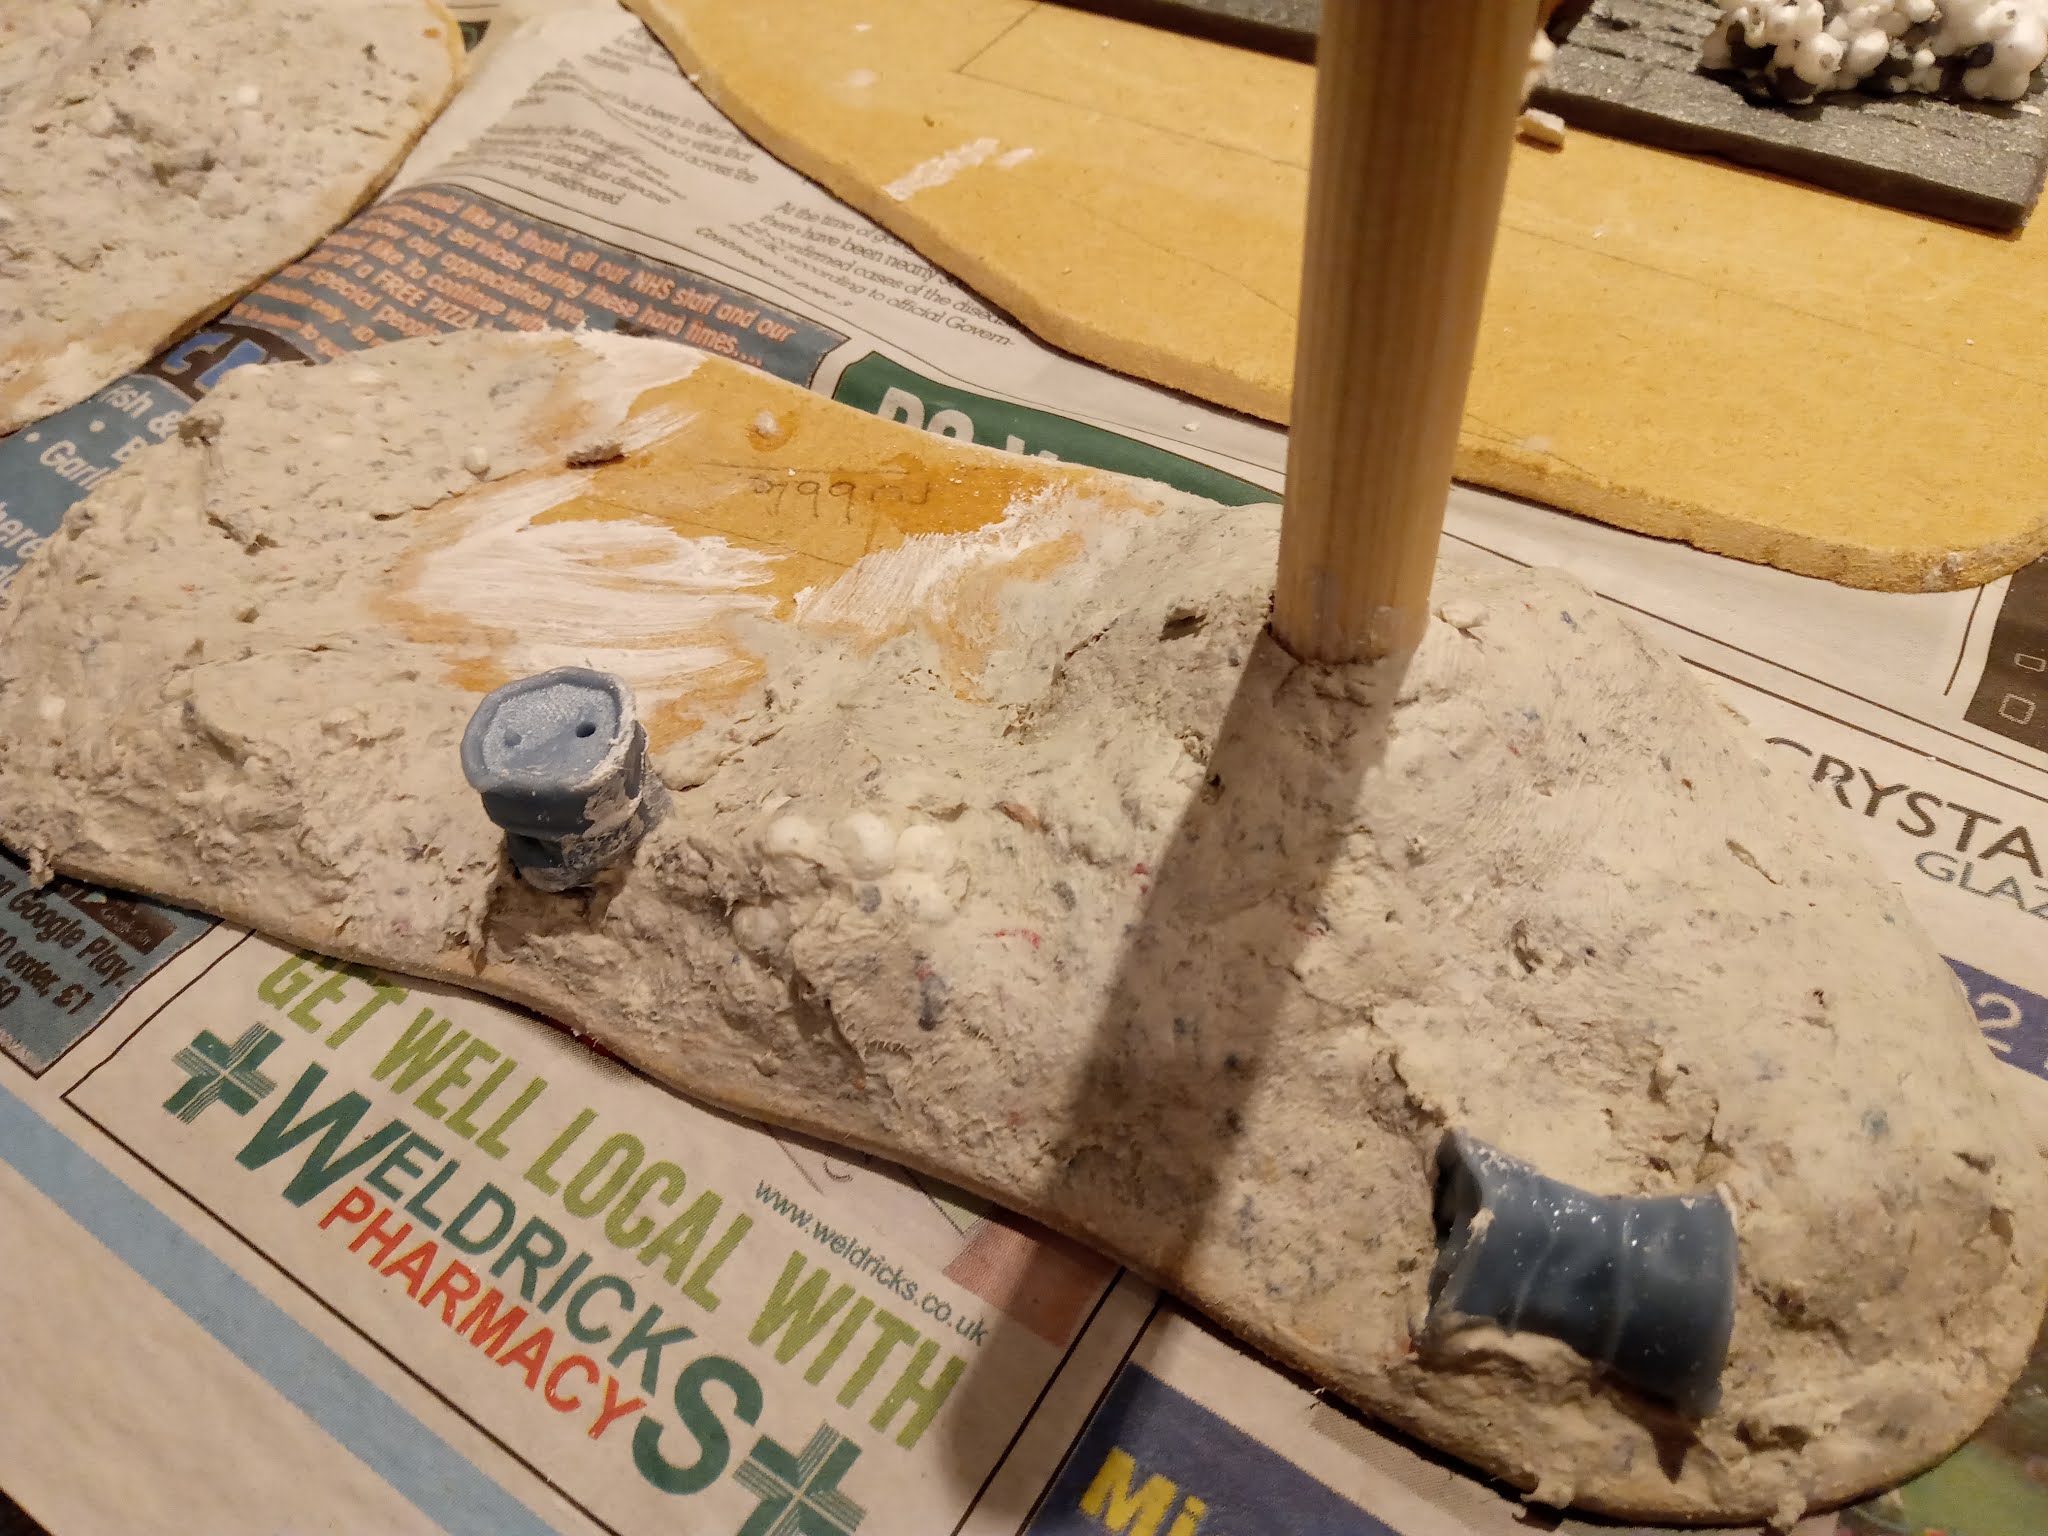

Looking a lot more natural, rather then bubbly polystyrene all over the place.
The front corner of the bar hasn't been worked up, as this spills outside the walls where they have been broken down, so I'm going to add that section once the interior is finished and the walls glued in place.
The front corner of the bar hasn't been worked up, as this spills outside the walls where they have been broken down, so I'm going to add that section once the interior is finished and the walls glued in place.
I forgot to take a photo of the next step, but it basically involves a thick lyer of PVA glue and then some smashed sheets of plaster which I cast up in my own baking trays (not the ones from the kitchen) glued on as larger pieces of rubble/concrete.
Once this is dry, I start to add various smaller rubble sizes:

I have a tub of builders sharp sand, a big tub of smoother sand and a tub of cat litter (clean obviously, I'm not going to be practicing chemical warfare on my gaming table).
Again, with a liberally thick layer of PVA we end up with this:


I stopped work on the Bar at this time as I was having to work on the kitchen side, and there wasn't room for all my terrain AND to keep the room functioning in it's primary capacity.
Once I had the extra sizes and layers of smaller rubble down, I decided to try out a layer of Mod Podge mixed with grey paint as a sealant/primer coat:

Unfortunately, near disaster struck.
The Mod Podge mixture held fast over a lot of the smaller rubble and created this wierd, honeycomb texture is the only way I could describe it:

See how it has smoothed off a fair bit of the rubble and sand but left holes in the surface...not ideal when I wanted this sort of texture like on my Municipal Building:

Not a major problem though, as once they'd all dried properly, I threw down some more PVA and sand, then gave them a primer coat witha rattle can of grey paint:

The standing windowframe and wall got some texture through using baking powder around this time, probably before the rattle can if i'm honest but I can't remember:

Just some cheap own-brand baking powder, sprinkled over PVA which was smeared over the building wall by my finger to ensure good coverage.
I then thought about adding some boards to the base of this piece as well, seeing as there were floorboards on the ground and some had been used to block off the window, I figured there would be some more littered around the piece

Fortunatley, before the 2020 pandemic began and everywhere was open and running as normal, I had steadily been grabbing a handful of coffee stirrers everytime I bought a cup of tea from the cafe next to our depot where I work. I have a tub full of these which are very useful for modelling projects.
I guess I'll have to buy a pack of them off eBay unless things go back to normal anytime soon...which I can't see happening.
Before I added them to the piece though, I started painting and made a black wash using Black Emulsion tester pot and water with a couple of drops of washing up liquid added, this breaks the surface tension of the water and allows it to seep down through the various cracks and textures. (I didn't add this to the Mod Podge and that may have been the error there).
Then a couple of drybrushes up through different shades of grey emulsion testers I picked up specifically for this project.
A few spots of colour on the oil drums and the interior wall and windowframe of the pieces left me with these:


These are coming along well, and in my next post about them, I'll add some finished photo's along with some miniatures added to give a sense of scale to the pieces.
Until next time...
- Lewis
No comments:
Post a Comment